
HPE StoreOnce is a deduplication storage system providing efficient data compression and deduplication capability and suitable for data backup and long-term retention. HPE StoreOnce can be integrated with major backup vendors as the backup target storage.
In Azure, there is virtual edition of HPE StoreOnce in Azure Marketplace. Deploying and initializing the HPE StoreOnce VSA is a very pleasant process with a straightforward outcome.
Since the HPE StoreOnce supports the data replication between appliances, the Azure based StoreOne VSA could be a good candidate of remote DR data copy by replicating the data from on-premise StoreOnce system.
It is noted that the VSA deployed in Azure will come with a trail license: “One time instant-on license for up to 90 days with a maximum 500TB capacity. No support provided by HPE.”

This post is to outline the deploying steps for quick reference.
- Login to Azure portal and search “HPE StoreOnce” in Azure Market.

- If you choose “Start with a pre-set configuration”, you will get a simple selection box with “select a workload environment” and “select a workload type”. Make a selection based on your requirement and continue to create the virtual machine via the wizard.

- Once the StoreOnce virtual machine is provisioned. Navigate to the newly provisioned HPE StoreOnce virtual machine Overview page. Identify the public IP address of the virtual machine.

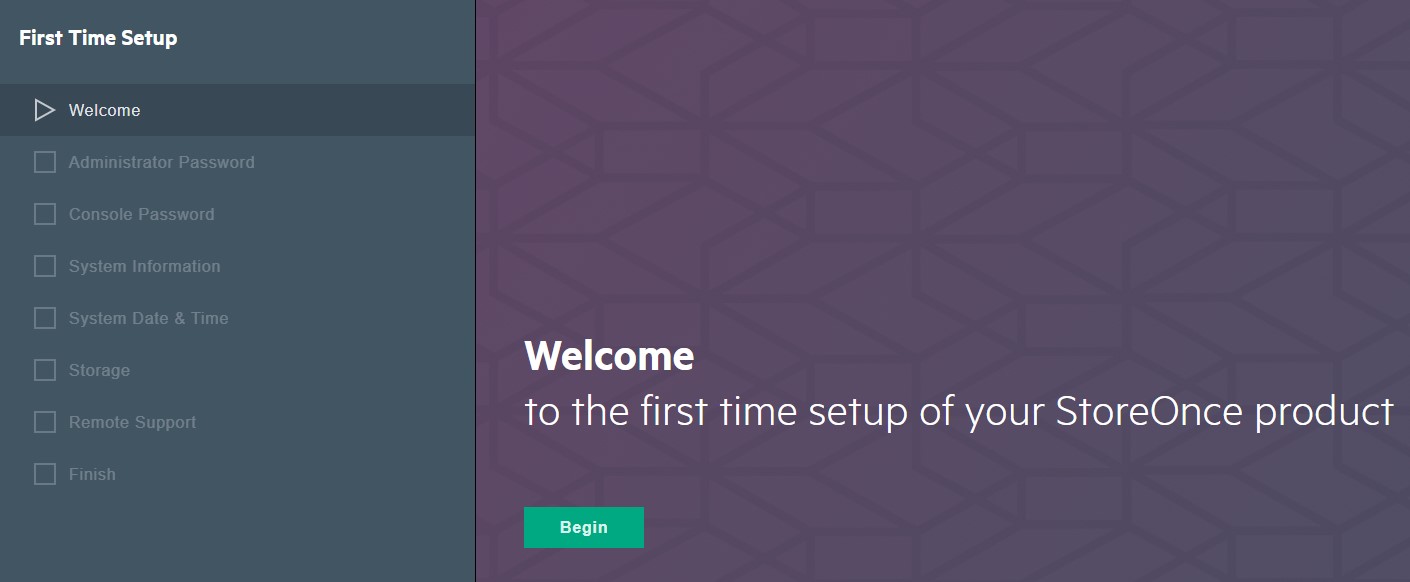
- In the web browser, typing URL “https://Public_IP_of_StoreOnce_VSA”, you will see the welcome page for “First Time Setup”. If you can not see below page, try below methods:
- Wait 10 minutes to allow the services to be fully started.
- Check the NSG to allow the https traffic.
- Restart the StoreOnce VSA virtual machine.
- If your organization do not allow the internet access. Try to use existing Windows VM in Azure or provisioning a Windows VM in Azure to access the StoreOnce web portal.
- Follow the “First Time Setup” wizard and provide the password for admin and console.


- Provide the general system and time information.


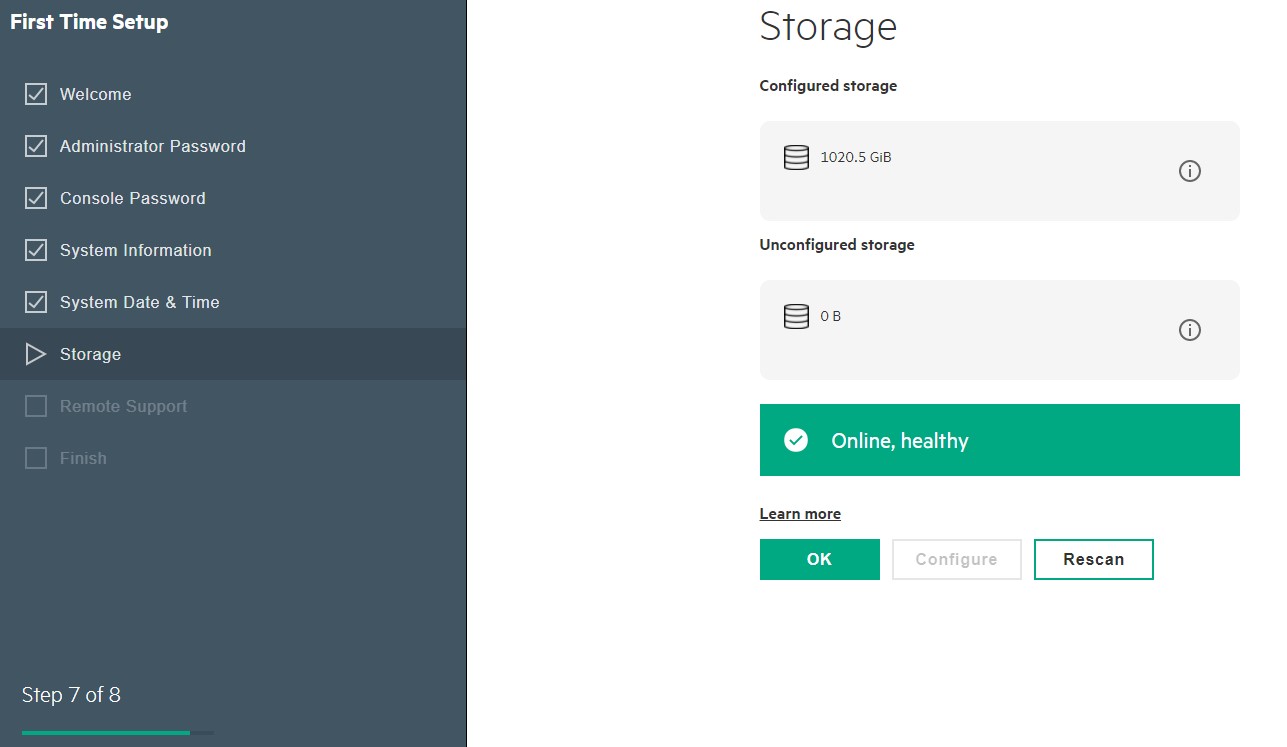
- In the storage section, if you didn’t add data disk in virtual machine provisioning stage, you will see “Unconfigured storage” is 0B. In this case, go back to the virtual machine setting in Azure portal and add data disks.

- Add data disks for StoreOnce virtual machines, the max number of disks can be added is limited by the VM template used. For example, for Standard_A6, max 8 vdisks can be added. In this example, only 1 disk is added.

- After adding the virtual disk, “Rescan” the disk from “First Time Setup” web page and you can see the data disk size is populated in “Unconfigured storage” section.

- Click “Configure” to initializing the data storage, this might take time depends on your disk sizes.
- Configure Remote Support if needed.

- Now the StoreOnce VSA is ready to use.

- Login the “StoreOnce Management Console” and you can start configuring and using StoreOnce VSA.

