
This post is to provide the steps to replace the self-signed certificate of Cisco UCS Manager to the client signed CA certificate.
Step 1: Creating a Key Ring
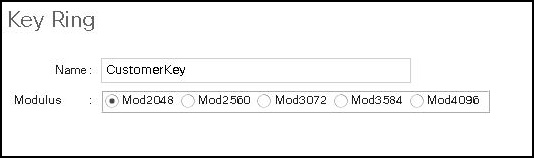
- Navigate to Admin->Key Management-> Key Management -> Key Ring -> Add.
- Choose a name for the new key ring. For the modulus, consult CA administrator in your organization. Mod2048 could be chosen in most orgnizations.
Step 2: Creating a Certificate Request for a Key Ring
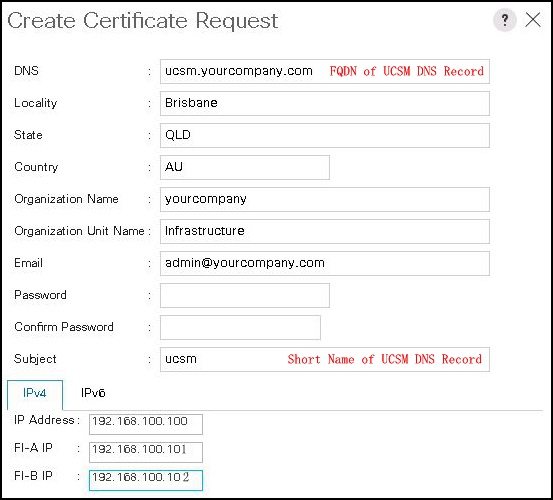
- Select the newly created key ring. In the General tab, click Create Certificate Request.
- Fill the required fields as per the below figure. (For the subject field, I prefer to use short name of UCSM, as the FQDN has been covered in DNS field.)
- Once click OK, the certificate signing request (CSR) will be available in request field in the same page. Copy the content and sent it to certificate authority administrator in your organization.
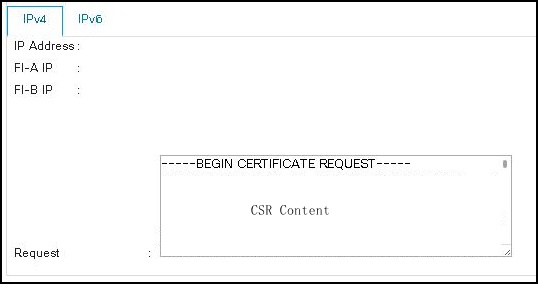
- The CA administrator should reply the certificate to you with Base64 encoded X.509 (CER) format.
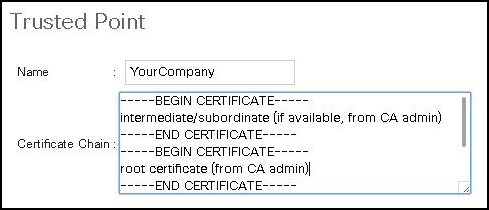
Step 3: Creating a Trusted Point
- Navigate to Admin->Key Management-> Key Management -> Trusted Points -> Add.
- Choose a name for the new trusted point.
- Copy the Certificate Chain, this should include root certificate and subordinate/intermediate if available. The CA administrator should provide the certificate chain. (Note: if you get crt, cer or pem file, pls use “type xxxx.crt” or “type xxxx.cer” or “type xxxx.pem” from the windows command prompt to get the key information)
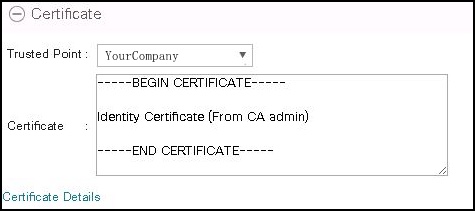
Step 4: Importing a Certificate into a Key Ring
- Navigate to Admin->Key Management-> Key Management-> New Key Ring
- From the Trusted Point drop-down list, select the trusted point created in step 3.
- In the Certificate field, paste the text from the certificate you received from CA administrator in your organization. (Note: Copy the Identity certificate here. You can copy the whole certificate chain, but UCSM will only accept the first certificate)
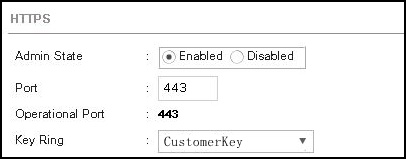
Step 5: Configuring HTTPS
- Navigate to Admin->Communication Management > Communication Services.
- In the HTTPS area, select the key ring name added in step 1.
Now, relaunch the browser and login UCSM, now you can see the UCSM site is secured. All Done!