Veeam backup software family includes a solution to provide the backup capability for Azure virtual machines. As a kind of tradition of Veeam backup solutions, it provides a “Free Edition” to allow 10 VM backup for free. This post is to provide an overview about how to deploy the Veeam Backup for Microsoft Azure.

The first impression of this solution is its simplicity. Not only from the backup methodology, but also the deployment and operation.
How it works?
Veeam utilize Azure API to send the request to generate the snapshots of the managed disks of Azure VMs. Then on-demand provisioned Veeam backup workers will pick up the snapshot, process and store the data in Azure Storage Account provisioned by customer.
How to deploy?
There is only one Azure VM need to be deployed as a control plane and the data plane (workers) are provisioned on demand. The whole deployment could be done in less than an hour if you are familiar with Azure operations.
Cost saving?
Comparing with Azure native backup, Veeam can save the cost from below two major aspects:
- Storage Account Cost: Comparing Azure native backup using ASR Vault, Veeam allow user to create storage accounts at particular tiers with potential cost saving.
- Data Compression: Veeam compress each VM snapshot backup before storing it in Azure Blob storage, this could help on saving the storage cost.

Here is the deployment procedure.
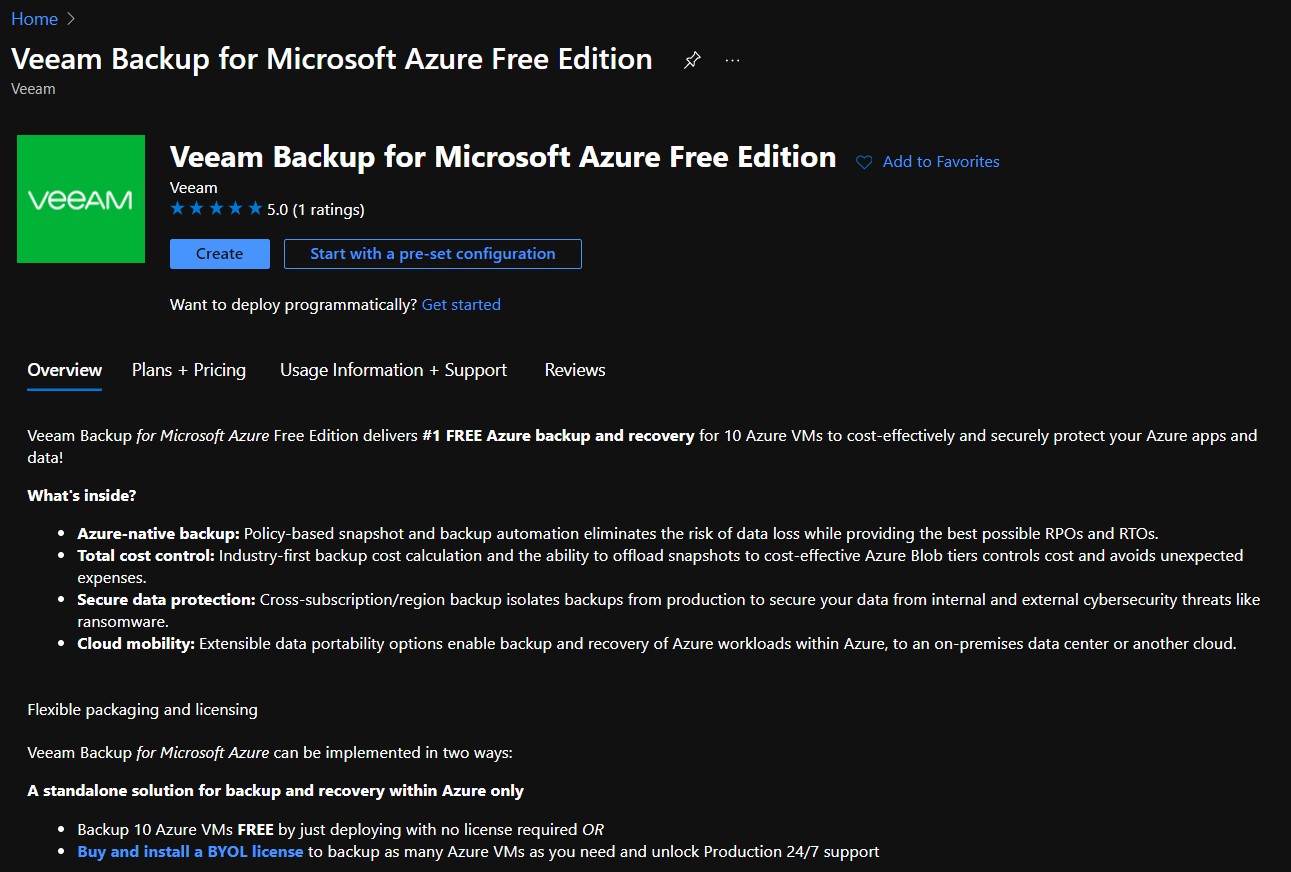
Login into the Azure Marketplace, search “Veeam Backup” and select “Deploy Veeam Backup for Microsoft Azure Free Edition”.
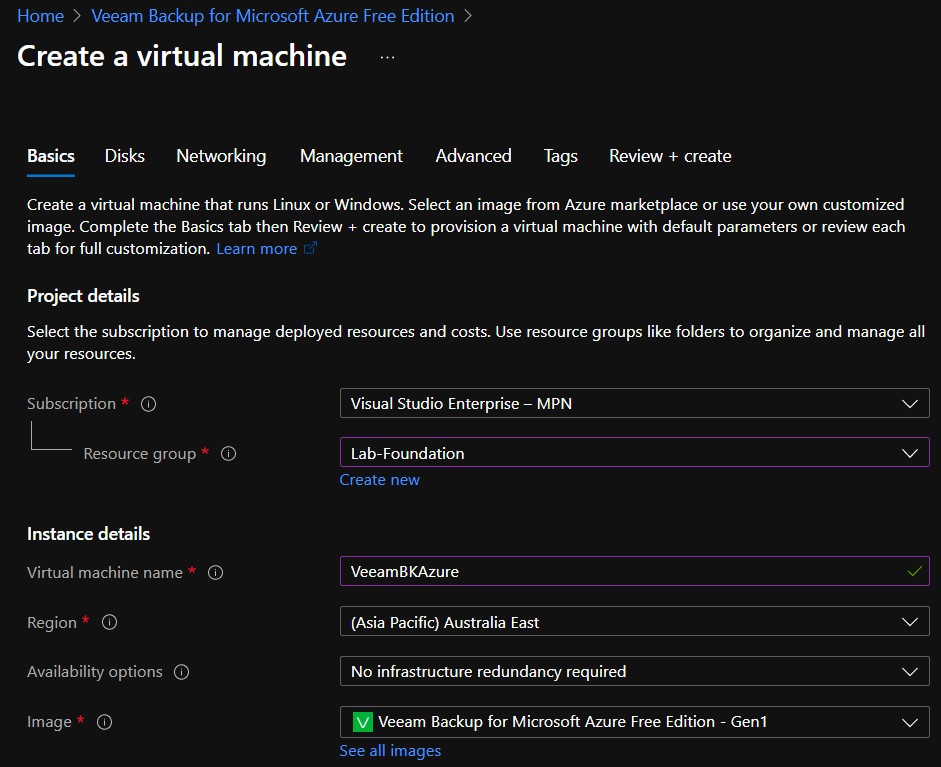
Follow the wizard and create the Veeam Backup VM in Azure . In this demo, there is a demo VM with name “VeeamBKAzure” created.
Once the Veeam Backup Server is deployed, locate the public IP address of the Veeam Backup Server. Configure Azure NSG, firewall and routing table if required.
If you are using JumpHost inside Azure, simply connect via private IP address of VM.

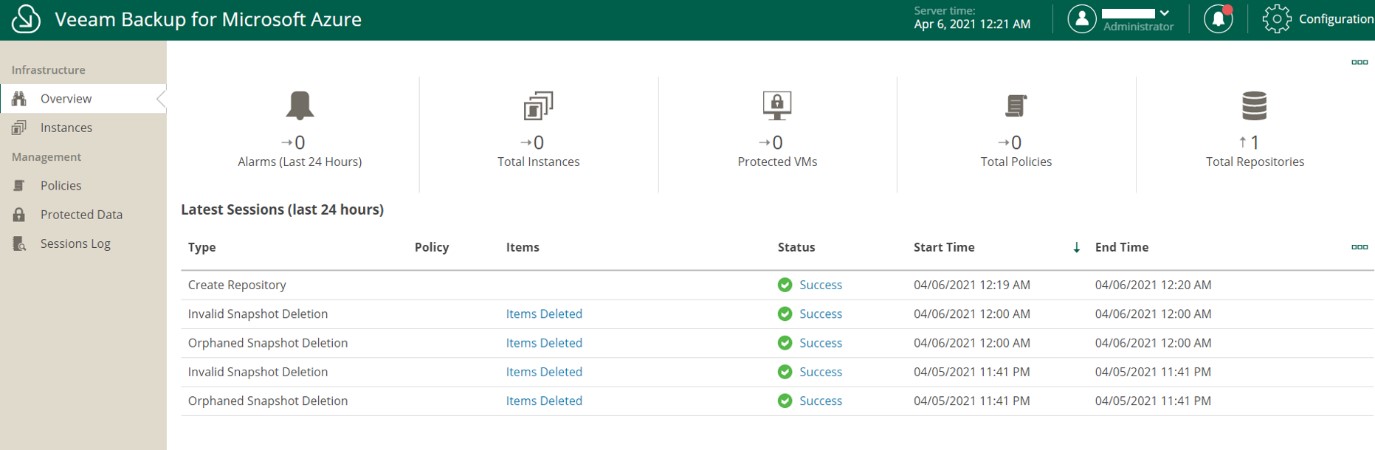
Launch a web browser, open the Veeam Management Portal by using the public IP address shown in Azure portal. Once the login page appears, use the user password setup during deployment to login.

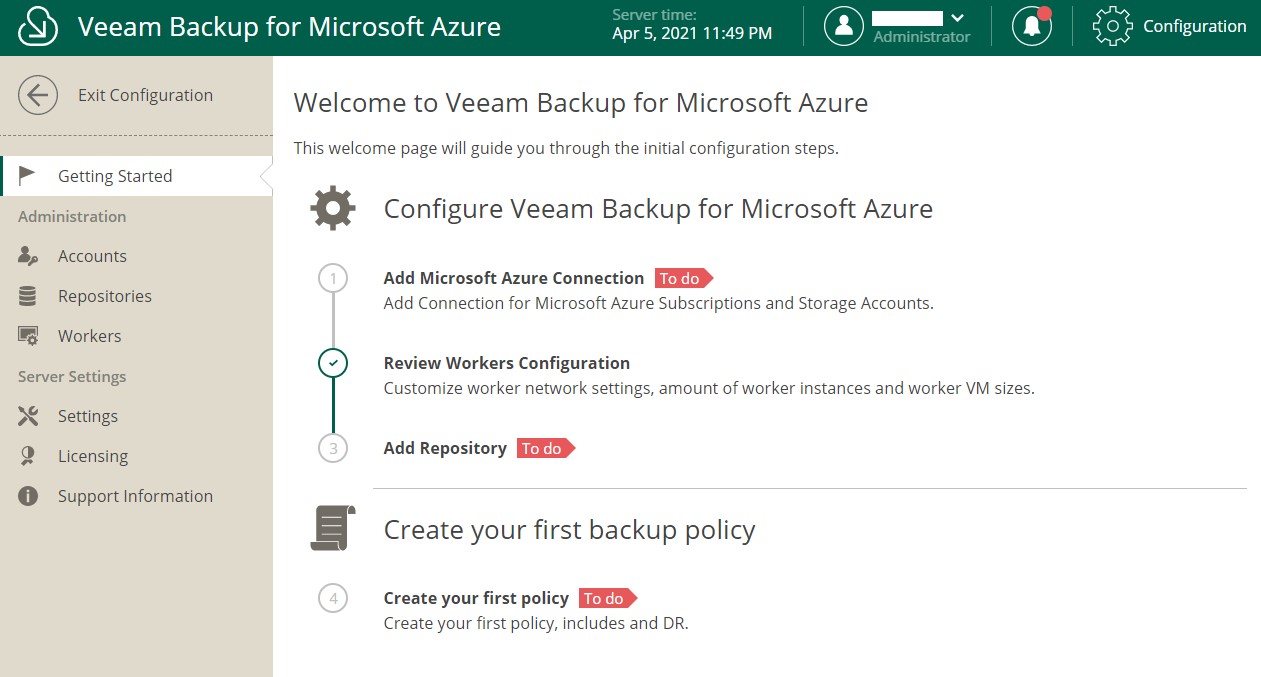
The initial tasks to configure the Veeam Backup Server including:
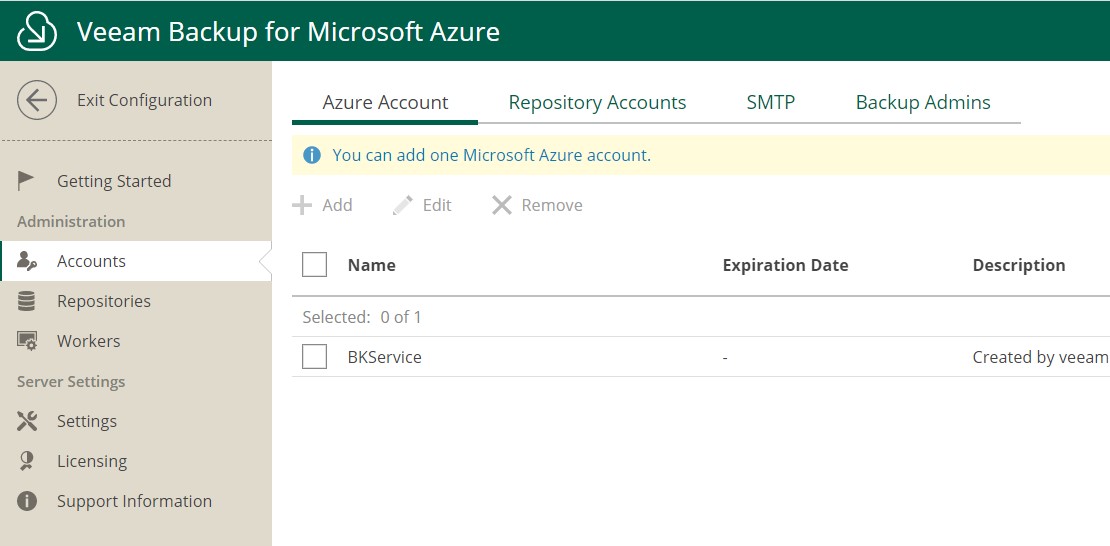
- Azure Account: define the Azure credential connect to the Azure subscription.
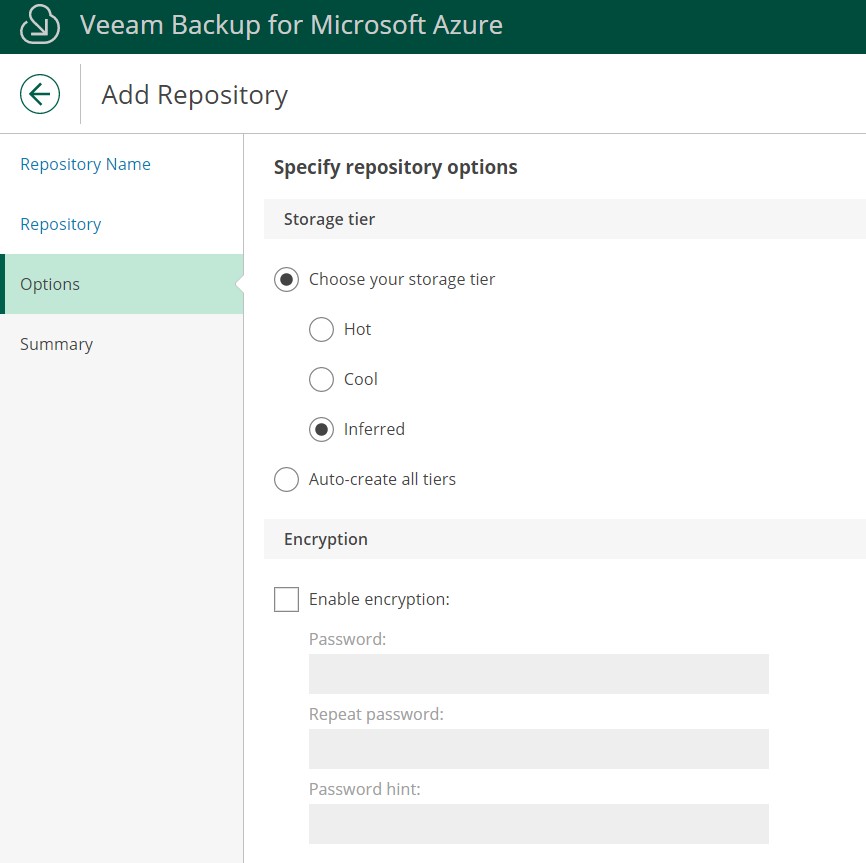
- Repository: define the Azure storage account for backup data.
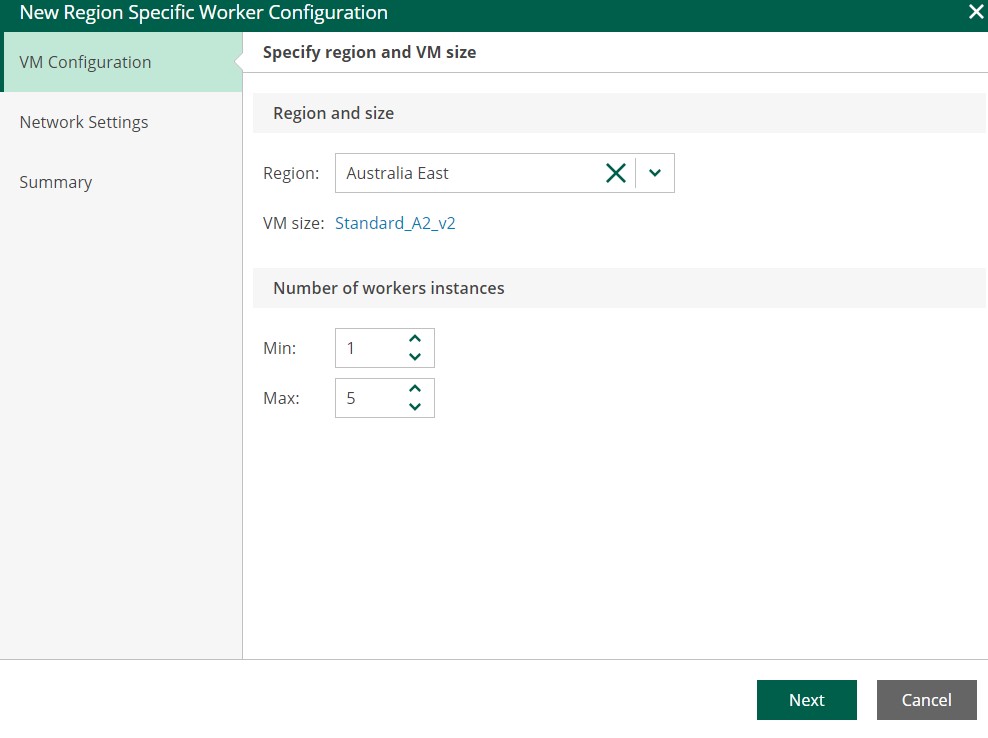
- Workers: define the Veeam workers to backup the Azure VM snapshot.
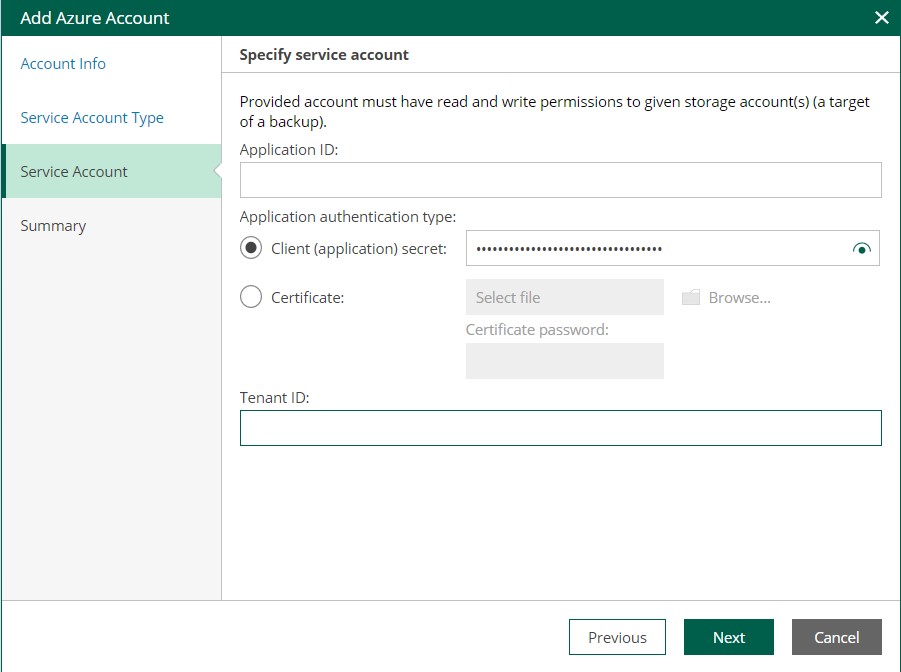
In Azure portal, create a service principle “VeeamBKService” for Veeam Backup in Azure Active Directory “App Registration”. Assign the “contributor” role for “VeeamBKService” in the subscription you would like the Veeam to backup.
In Veeam Backup console, under Account section, add the service account information in Azure Account setting from Veeam console.

Specify the Veeam worker VM configuration including Azure region, VM size, instance counts and network configuration.

Add Veeam Repository by selecting the desired Azure storage account to store the backup data.


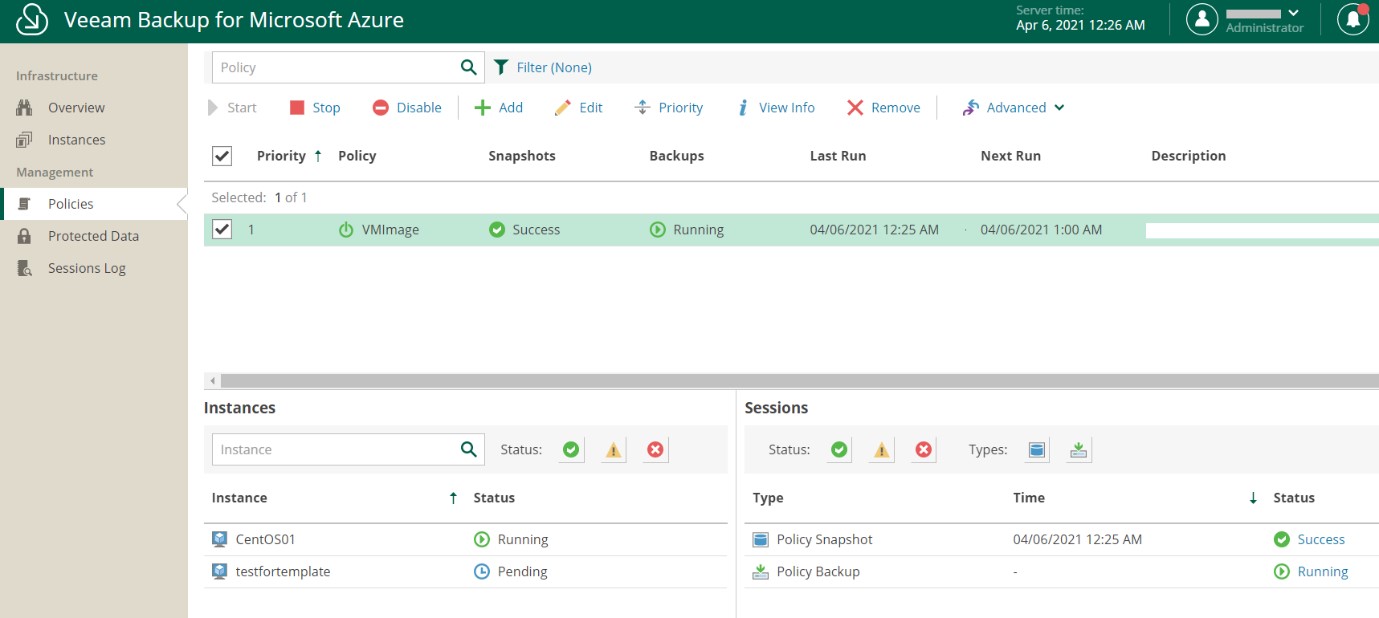
Now it is ready to start the backup configuration.
Add your first backup policy as what you normally did for backup system and you are ready to go.
Must mention that the “Cost Estimation” is indeed a nice feather to give user a good indication about the cost of backup for each policy.

Start the backup policy by schedule or on-demand. All set!